About Me

My photo
Hampshire, United Kingdom
In July 2010 I graduated from KLC School of Design in London with a Professional Diploma in Interior Design (please see the tabs below for course details and project portfolios). Since September 2010 I've been working for a local interior design practice just outside Alton in Hampshire. Through this blog, I hope to share with you products which I like and things which inspire me - together with the odd post about my own home which is a working project. A good home is never finished!

Sunday, 17 July 2011

Lovely Lampshades!

One thing I love about working in the interior design industry is access to so many products I never knew existed - it's just one big shopping trip!

Here are just a few lampshades I've found, from those which children would love through to classical elegant designs - and a few quirky ones along the way!

Lampshades for Boys
In my experience, boys are harder to find things for than girls but here are just a few of my discoveries from The Old Lamp Shed (who also do bespoke fabric covered lampshades):


Lighthouse Lampshade
Aeroplane Lampshade

Rockets Lampshade
Lampshades for Girls
In keeping with the current popularity of cupcakes (certainly in our house!), why not consider cupcake lampshades?  A small selection from Hunkydory Home:


Pink Cupcake Lampshade
Mini Cupcake Lampshade       


Each with matching cushion!


Other shades to suit little girls include these:

Gorgeous pink giraffe lampshade!


Red Hearts Lampshade

Something a little more elegant!

Here is a selection of elegant shades in plains and patterns .......

Asuka Lampshade


Asuka and Sylvana are both available from Graham & Green

Sylvana Lampshade


If plain is more your thing, (and you want to push the boat out) you can't go wrong with an elegant silk lampshade like these from Porta Romana:

 Tall Cylinder Shad
Top Hat Shade


Slim Straight Oval Shade


Or, if you secretly long for a bit of pattern but you're not quite bold enough, you could always opt for a lampshade which is patterned on the inside .......

This is available from Not On The High Street (great website full of ideas for presents!)

Silver taupe fabric on the outside with flower detail on the inside

 Maybe 'Retro' is more your thing .......

Here are 2 geometric designs, also from Hunkydory Home for starters
Blue Morp
Retro Diamond Yellow

Or, maybe a bit of 'flower power' is more up your street?  These lovely lampshades are both from The Old Lamp Shed:


Retro Primrose Shade
Retro Arabesque Shade

 Staying with flowers, this will add a splash of colour and a feminine touch:

Drum lampshade in Betty Boyns Bostraze Rose fabric is from The Old Lamp Shed.


Kate Forman (who also has a new shop in London) has some very feminine fabric and wallpaper designs which she has appplied to lampshades (as seen below), waste paper bins, cushions, box files, lever arch files and furniture (all of which will appear in later posts).

A selection of Kate Forman lampshades

A little bit of Vintage Style - these two shades below from The Old Lamp Shed have a certain kind of charm .....
Cavillini Vintage Nest Lampshade

Ephemera Lampshade


How about something with a bit of personality ......


Union Flag lampshade by Sophiei embellished with co-ordinating handmade flowers (from Not On The High Street)


'Lovely Day in Paris' lampshade from The Old Lamp Shed 


Vintage Airmail Lampshade from
The Old Lamp Shed


And finally, we mustn't forget the man of the house ...... perfect in any study (not just for men!)


Map Lampshade from
The Old Lamp Shed
Newspaper fabric covered
lampshade from
The Old Lamp Shed
               
That's it for now!  Next time, French style furniture .......

It's been a while!!

Well aware that I've been rather quiet for a while, I'm planning to change all that and I'm currently planning a number of posts looking at the following:
  • French style furniture
  • Lampshades
  • Cushions
  • Storage
  • Lighting - part 2!
  • Seating
  • Accessories - more accessories!

So watch this space ......

Monday, 3 January 2011

Bathroom Progress - We Made It - Just!


My last post was in the middle of December and we were just about to have the bathroom tiled.  Since then, we've had Christmas and New Year and I thought I would post a bit of an update on our bathroom progress.

Tiling in progress


The tiling took just over 2 days and proved a bit problematic (for the tiler!) because the walls were bowed as well as being out of square - the gap to the right of the base unit ended up not being a gap at all in the end because that wall was so bowed it needed loads of adhesive behind some of the tiles to achieve a flat tiled finish!

On the Friday night I painted the first coat of paint on the walls and then did the second coat on the Saturday - one week before Christmas.  At this point, we still had no loo, heated towel rail, cupboard, mirror - or door!  On the Saturday evening our son was due home from a ski trip (with a dislocated shoulder) and the guest bedroom (where my parents were due to be sleeping on Christmas night) looked like this:

Even when it's tidy, this room needs re-doing - another project!

On the Sunday morning, with our son safely home and the washing machine working overtime, we decided that we needed a couple of easy things to do, so we put up the wall cupboard and the mirror:


There were 2 things we were not looking forward to in this bathroom refurbishment - fitting the loo and the heated towel rail, both of which have the potential for major floods!  We couldn't work out how we would be able to fit the flush pipe and the waste pipe to the loo, through the hole in the fascia board, and tighten the cam and dowel fixings on the board once it was in place.  To cut a long story short, after a few stressful hours, we eventually had a fully working loo!  We had dinner at about 9.45 that evening - not good!


Working loo with soft close seat


Fitting the bath panel was also difficult because the right hand end of the bath was slightly behind the basin unit and so we couldn't fit it straight on, it had to go in at an angle and it wouldn't bend - and it needs to be removable in case we need access to the services.  We also had a gap which needed filling with a piece of wood - for this we managed to get an offcut of MDF from Homebase which cost 1p - bargain!  It took a whole evening to plan but only about 20 minutes to fit in the end.

The next thing we did was to fit the door bar between the tiled floor in the bathroom and the carpet on the landing which was much easier than we expected - so much so that we decided to trim the door on the same night - in the kitchen, with the circular saw - before tidying up after dinner!
 
Are we really about to do this? .....


.......apparently so - sawdust everywhere!

As it was after 8.00pm and the patio table was covered in snow, this was the only option!


Despite the mess, and numerous trips up and down the stairs with the door, the bathroom had a door by the end of the evening.


The following evening was the Wednesday before Christmas and we had intended to fit the heated towel rail that night.  However, when we started to look at the work involved I decided that it was best left until after Christmas, during the day when plumbers' merchants are open!  My husband didn't take much persuasion which left me to do the best bit - shop for towels and accessories!

So, we still need to fit the heated towel rail and get the roman blind made, but we now have a usable bathroom!  Oh, and fit the shower and shower screen ....but it will get finished!

Here are a couple of photos which I took today but there are some better pics on my (as yet unfinished) website:  http://www.carolfetherston-interiors.co.uk/bathroom/ so please take a look!


One of the pictures from my website

Although it's not quite finished, it's a such an improvement on what we had before - I keep going to have a look at it I'm so pleased with it!  In fact, I prefer this bathroom to our ensuite!

Our next project is the master bedroom so watch this space - but we must finish this first!

Thanks for your interest and Happy New Year!

Monday, 13 December 2010

Bathroom Progress - We're Getting There!


We're getting there but this bathroom has not been without its problems! 

At the end of my last post, the ceiling lights were dangling out of the ceiling.  Since then we have put the coving up, painted the ceiling/coving and fitted the bezels on the lights.  The walls won't be painted white, that was just the watered down paint on the new plaster.


We positioned the bath and base units to see how much of the floor needed boarding before the floor was tiled, and then I spent an hour or so marking the floor at intervals of 150mm whilst my husband screwed it to the floor - tedious!
Because the units sit on very low feet (they don't have legs which can sit behind the floor tiles with a plinth which clips to the legs) we had to get the floor tiled before we did anything else as we wouldn't be able to tile under them - or the tiler wouldn't!


Having done that we were ready for the floor to be tiled and we're really pleased with the result.

The next thing we did was to level and fix the bath.  The bath panel is a fixed height and so we couldn't fix the bath to the wall or floor until we knew the finished height of the floor.  Fitting the bath was more time consuming than we thought it was going to be - each time we got it level, then made attempts to fix it to the floor and wall it moved and then wasn't level and it has to be level front to back as well as along the length - you get one bit level and then the rest isn't!  We got there in the end but it took all day!

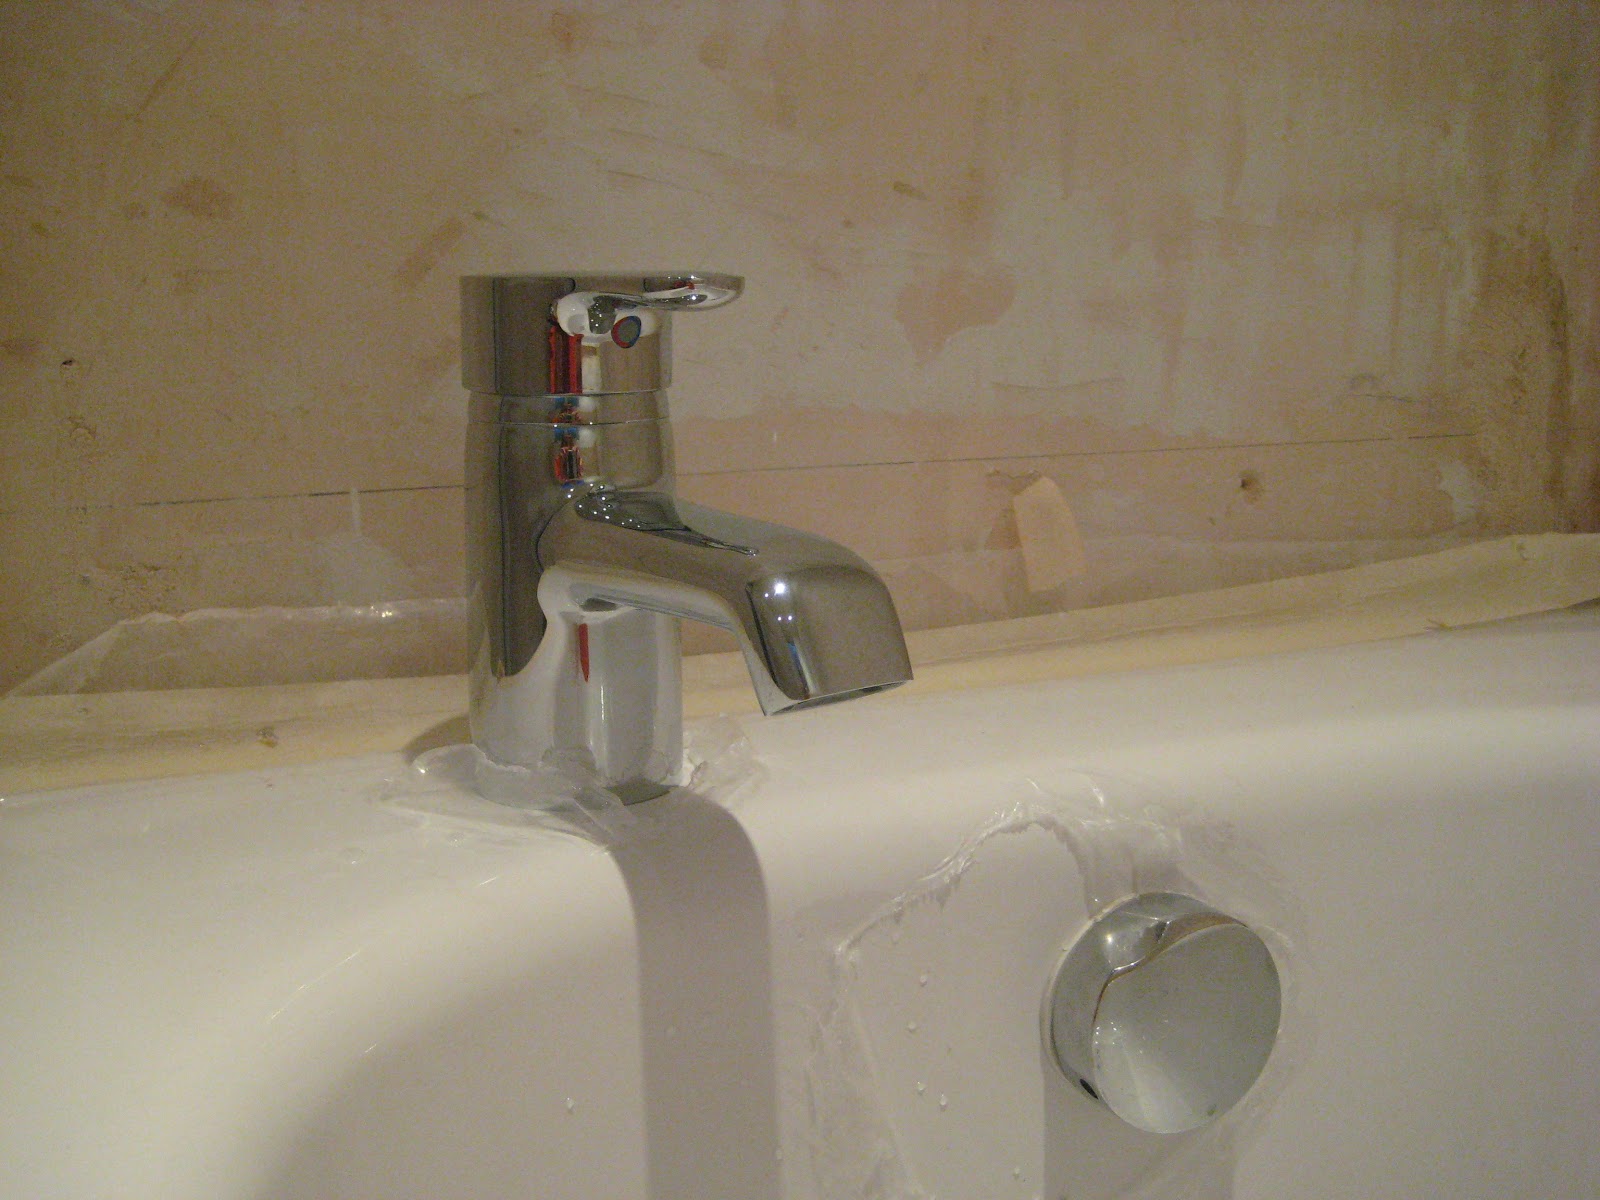
Ideally you would fit the tap and pop up waste before fixing the bath as it's just easier to get to all the fixings without the restrictions of working in a limited space.  We didn't do that, and it was a conscious decision but I can't remember why!  We did, however, decide where the tap would go and cut the hole for it in the bath. 


The next thing to do was build the boxing at the end of the bath which will later be tiled.  It snowed that day but that wasn't going to stop our progress!


Boxing in place at the end of the bath

Because of the workings of the pop-up waste, and because of the style of the tap (the lever goes back), there wouldn't have been enough room to operate the tap if we had put it centrally at the end of the bath - the thickness of the tiles and adhesive on the wall would have prevented the tap opening fully.  We therefore had to position the tap slightly off centre - it's a design feature of course!


After fitting the pop up waste and tap, we had to get water to the taps which meant running pipes from the other end of the bath as we've turned the bath around to allow the shower screen to fit against the wall - the window slightly overhangs the width of the bath and so we had nothing to fix it to.  To give extra strength to the bath we fitted 'legs' to the wall underneath the bath frame at both ends.


Next on the list was to fit the wall units and get them level before bolting them together - something else which took longer than we hoped.  And (like the bath) not helped by the fact that the walls are not square!  We also had to decide where on the wall to place them - if we had fitted them tight up against the right hand wall, the tiles would have prevented us getting access to the cistern panel.  We've left a gap so that the tiles can go just behind the unit and I'll fill any gap which is left after it's been tiled with silicone.


After fitting the units we fitted the concealed cistern and checked the length of the flush pipe (hence the loo).

At that point, we discovered that the panel which fits behind the loo was damaged.  We'd already had to request a replacement cupboard door from Bathstore but we noticed the damage to the loo panel after the 14 day inspection period.  Although Bathstore replaced it very quickly without question, the replacement is also damaged and so we are awaiting a replacement for the replacement! 

We then had the scary part - cutting the worktop and fascia for the basin!  Although they supply a template with the basin which has a fold line which you position on the edge of the worktop, it's really easy to make a mistake - we know, we've done it before when we did our ensuite bathroom!  When you cut the fascia you have to allow for the thickness of the worktop and so you position the fascia section of the template higher up the fascia (by the thickness of the worktop). 

SUCCESS!!

The picture (below left) with the basin in situ does not convey the problems we had fitting it!  We fitted the tap and pop up waste first which wasn't too difficult, apart from getting the tap straight and tight - each time you tighten it, it's not straight and when you straighten it, it's not tight!  The basin fixing brackets are really difficult to fit inside the holes in the basin, bearing in mind the basin is 550mm wide and is fitted within a unit which is only 600mm wide - my husband spent the whole evening flat on his back with his arms up inside the cabinet whilst I was shining a torch up inside the cabinet - usually in the wrong place!  We eventually finished at 11.15pm!


On Friday evening we plumbed in the basin and connected the waste pipe - I say 'we' but my involvement was really just passing the right spanner at the right time!  This evening, my husband clipped the pipework to the wall whilst I fitted the hinges and push fittings to the cupboard doors - I obviously don't know my own strength as I managed to ruin one of the doors when I fitted the push fitting to the door (which is why there is only one door on the cupboard at the moment whilst we think of a fix!).  Anyway, we're now just about ready for the room to be tiled tomorrow!


And while the bathroom is being tiled, I will be writing my Christmas cards and putting up the tree and decorations which so far, I haven't had time to do - even the cats are thinking it's about time we started to get festive!